
What is Wikidata? “Wikidata is a free, collaborative, multilingual, secondary knowledge base, collecting structured data to provide support for Wikipedia, Wikimedia Commons, the other wikis of the Wikimedia movement, and to anyone in the world.”
In simple terms, Wikidata is a database of structured data about anything in the world. But what is structured data? Structured data is something that is organized in a specific way such that it is easier for both humans and machines to understand knowledge. We are all familiar with our school notebook covers.

On our school notebook covers, data about each notebook is represented in key value pairs.
Name: Ravi, Standard: 5, Subject: Science, etc.
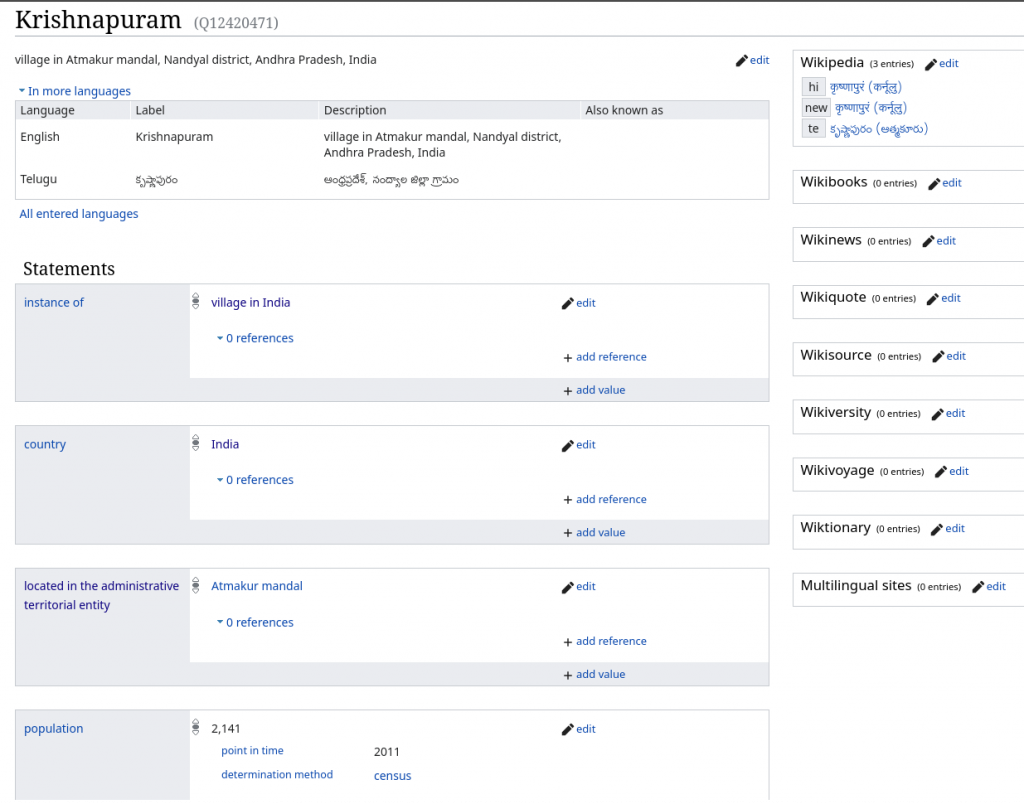
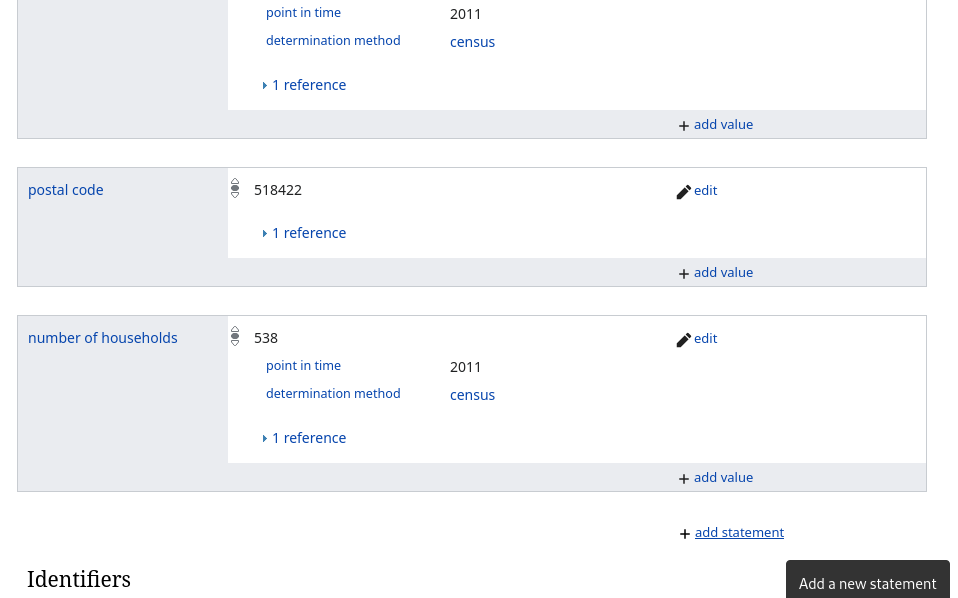
Wikidata works in the exact the same way. Each entry in the database is called an “Item” and information about every item can be represented with “Statements”. For example, Andhra Pradesh is represented as below:
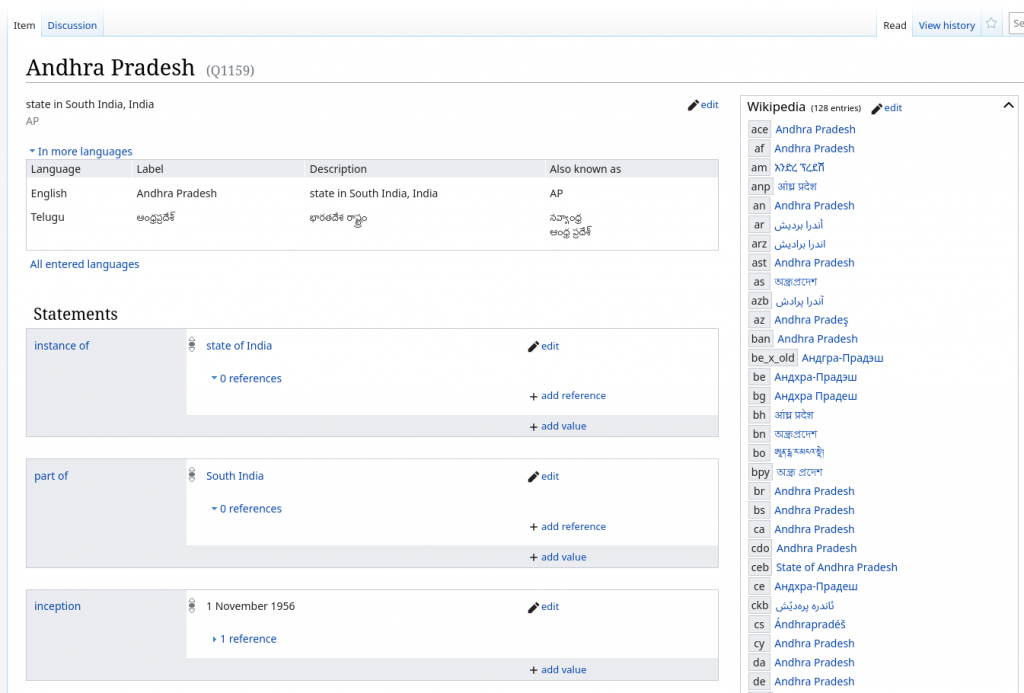
The screenshot only covers the first few statements. You can check wikidata.org/wiki/Q1159 to see the entire list. Q1159 is the identifier of Andhra Pradesh in Wikidata. Identifiers are sequential. Q1 is Universe, Q2 is Earth, and so on. If you notice on the right, there are links to the Wikipedia articles of Andhra Pradesh in several languages. That was the first use case of Wikidata when it was started in 2012. Wikipedia was growing in hundreds of languages and it was hard to keep track of all the inter-language links. Wikidata was the central place where links to different languages of an item were kept.
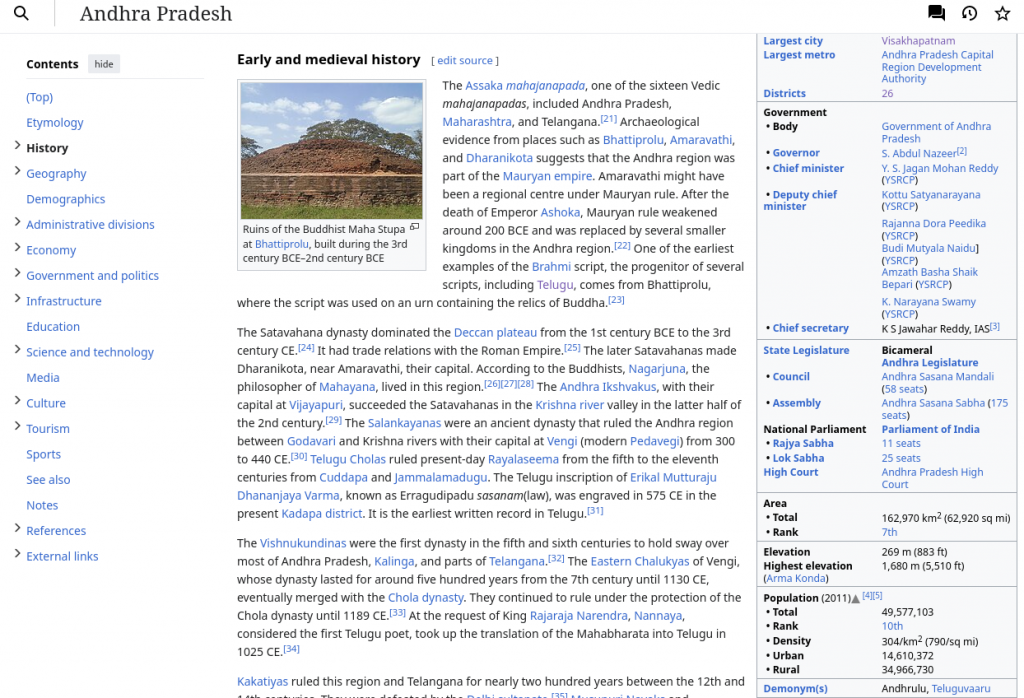
Wikidata has now evolved and grown into a very rich dataset of knowledge with unlimited use cases. In many Wikipedia articles, you might have noticed a summary box on the right. These summary boxes are called “Info Boxes” and they show you key statistics and important information about Wikipedia articles. In the Andhra Pradesh Info box, you can see names of key people, population, and other information. Now what happens when new population statistics are released next year? The Andhra Pradesh Wikipedia article is available in 128 languages. Do we manually update all 128 pages with new information? No. We just have to update the information in the Andhra Pradesh Wikidata item and it will reflect in all the 128 articles automatically.
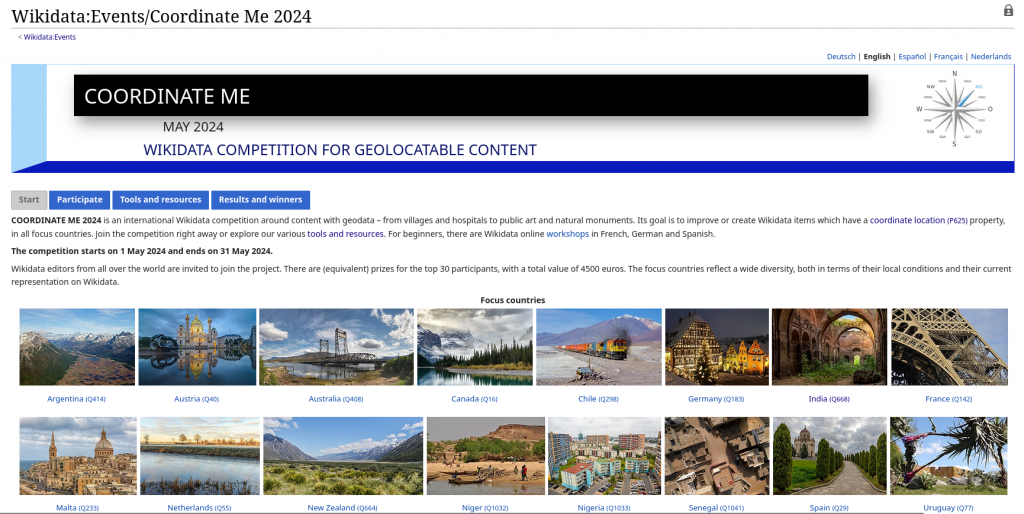
Now that you understand what Wikidata is, how can you contribute? Well, there’s a campaign running for the month of May to improve data in Wikidata and it is an excellent way to get involved. It is the Coordinate Me 2024 Event. It is a competition focused on adding geo location (latitudes and longitudes) to existing Wikidata items. The top 30 contributors receive 150 Euros (13,000 INR) each! To participate, create an account on Wikidata by going here and then go to the “Participate” page and click on India Dashboard, then click on Join. Your newly created account can be used to contribute to all Wikimedia projects like Wikipedia, Wikimedia Commons, etc!
So how do you and where do you add coordinates?
Contributors of Wikipedia, Wikidata and OpenStreetMap have been working on improving open data about villages in Andhra Pradesh for a long time now. There are currently 16,000 villages of Andhra Pradesh in Wikidata. But most of them do not have coordinates. We know they exist but we don’t know where in Andhra Pradesh they are located.
How to find villages which do not have coordinates? Wikidata has a query tool which we can use to get list of villages grouped by their Mandal. Go to https://query.wikidata.org/querybuilder/ and enter the below conditions. Change the Mandal name to whichever you want.
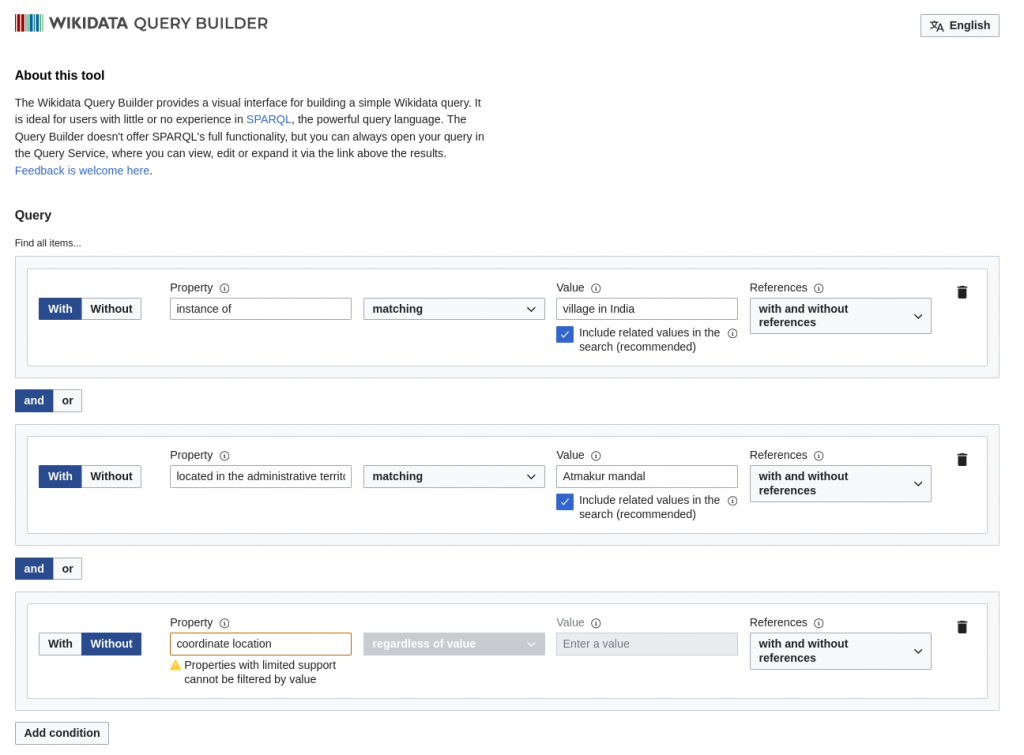
Once done, scroll down and click on the “Run Query” button to get the list of villages matching the above conditions. Here’s my list.
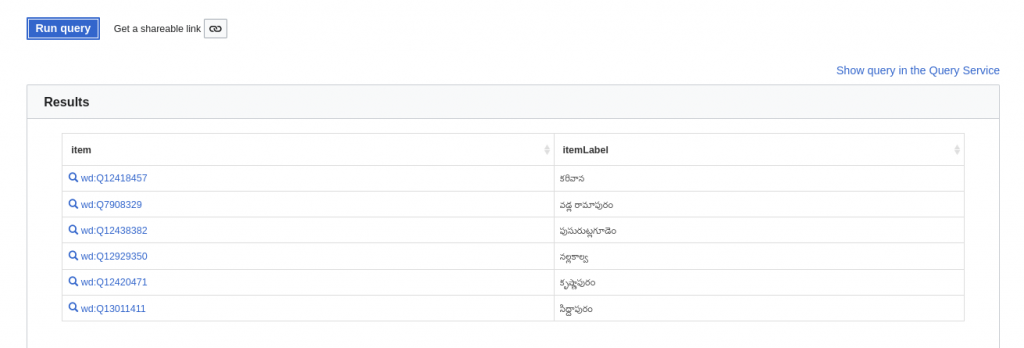
Wikidata is multilingual remember?
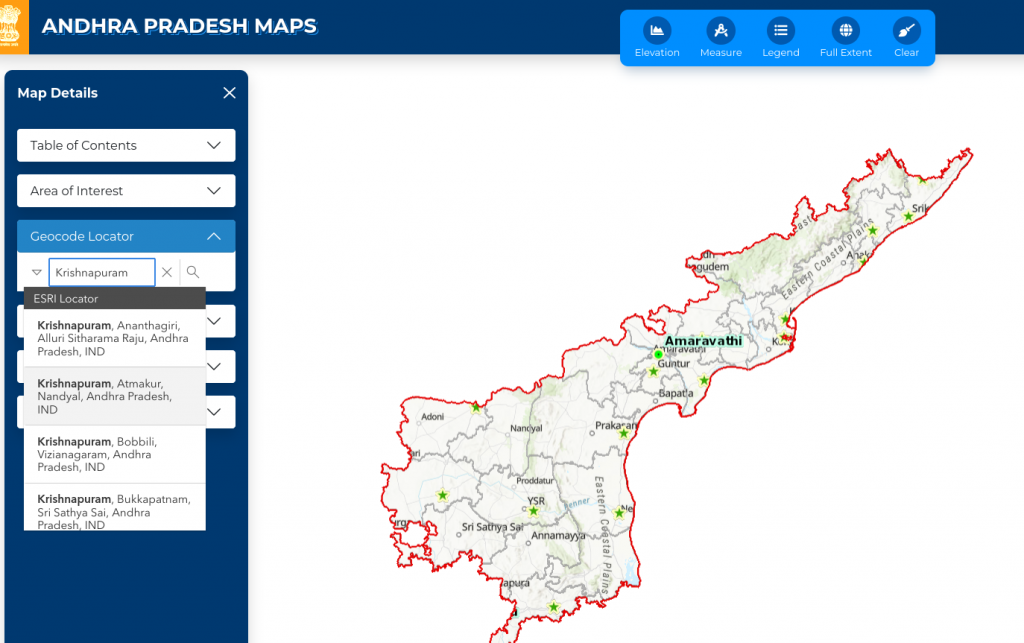
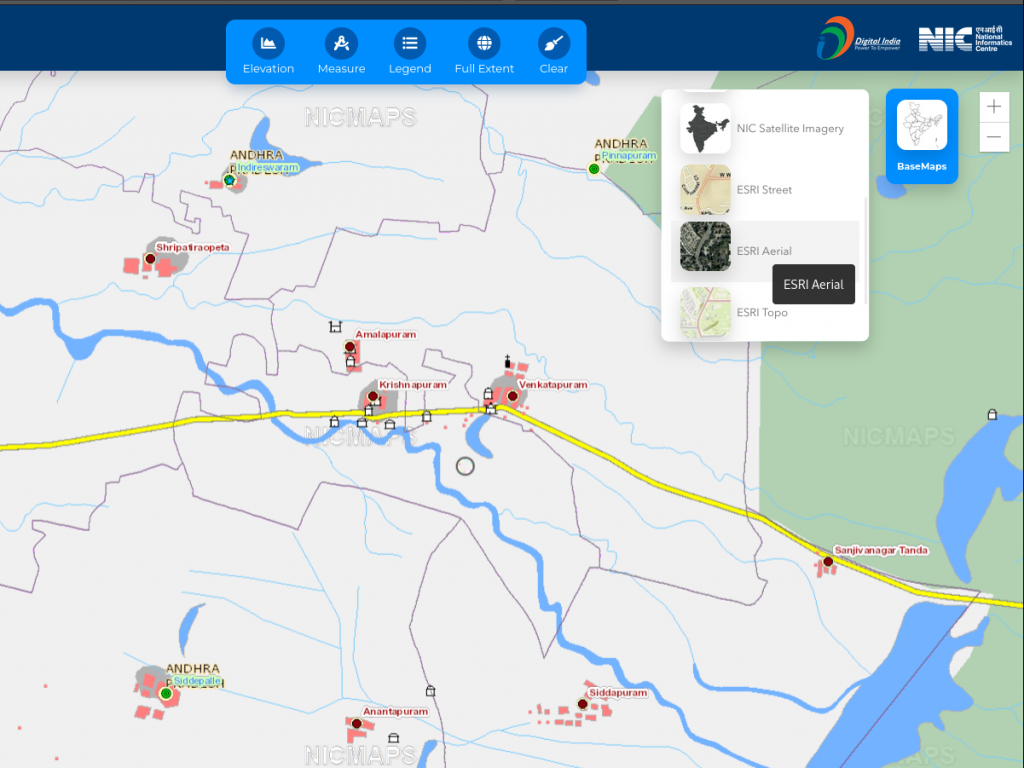
Click on a Wikidata id of a Village and it will open up in a new tab to update its location. I will select “Krishnapuram”. But before that, we need to know the location of the village. To find the coordinates of a village, we need a map. The best map to use is the AP State GIS Portal. It has almost all villages and is published under an open license. Open the map in a new tab. To search for a village, select “Geocode Locator” on the left and enter the village name.
To verify if the village exists at the location, turn on the Satellite imagery by clicking on “Base Maps” and selecting ESRI Aerial.
Once the satellite imagery is visible, click on the measure tool at the top. The one after Elevation.
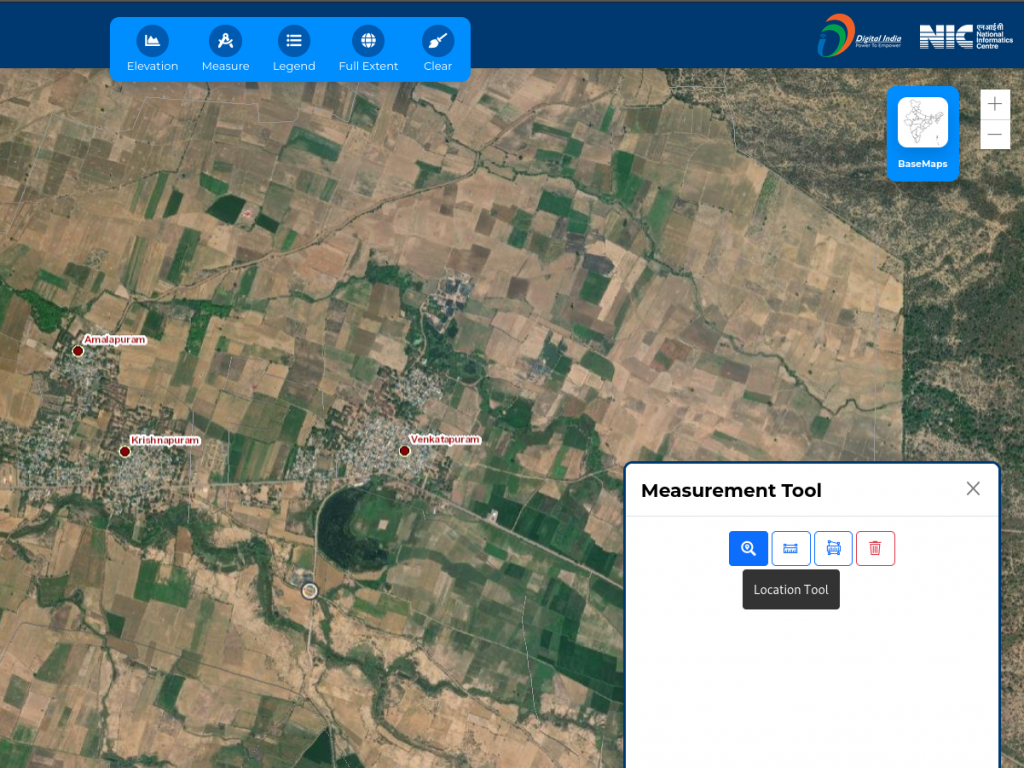
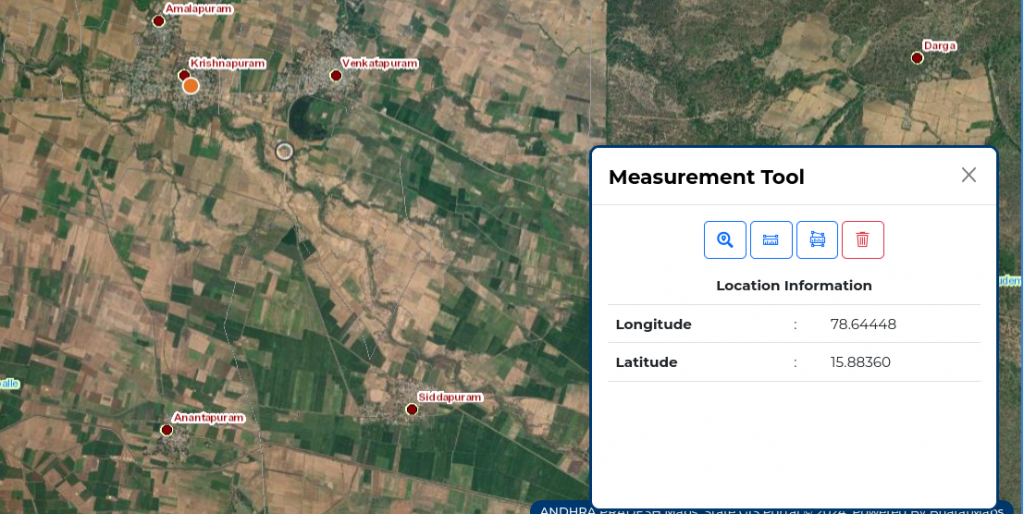
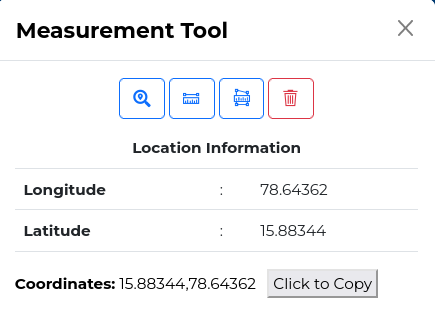
Select the location tool and click on a village for which you want the coordinates. Once you click on a village, you will get the coordinates.
Once you have the coordinates, go to the Village wikidata tab and scroll to the last statement and click on “Add Statement”.

Select “coordinate location” as the property and copy paste latitude and longitude separated by comma. Remember to paste latitude and longitude in order. The map shows longitude first so you have to be careful. Once you paste the coordinates, a mini map will be displayed where you can check the location. Now, you have to add the reference. Click on the “add reference” button and add our reference which is APSGISP (Andhra Pradesh State GIS Portal).
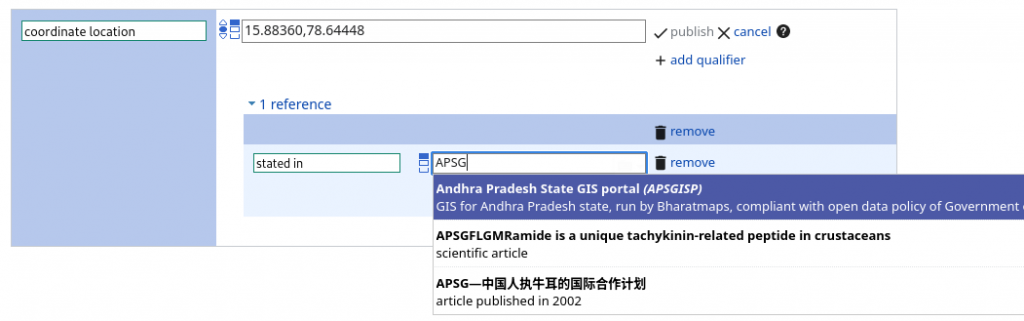
After you add the reference, click on the publish button next to the coordinates.
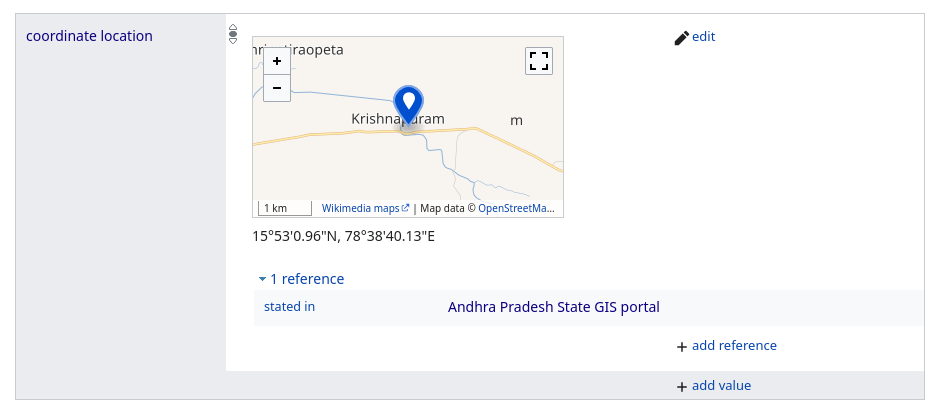
Congrats! You have improved open data for everyone. This location can now be used by Wikipedia to display a dynamic map! Keep adding locations to more villages and familiarise yourself with how everything works. Join the OSM AP Telegram group for any help or to interact with other contributors!
Optional
Once you add location of a few villages, you will realise that copying coordinates from the APSGISP Map is the time taking part. I’ve created a small Firefox browser extension to make it easier.
It will add this button which copies the coordinates. To install this extension, download this zip file and extract it. Now, open a new tab and enter about:debugging#/runtime/this-firefox in the search bar.
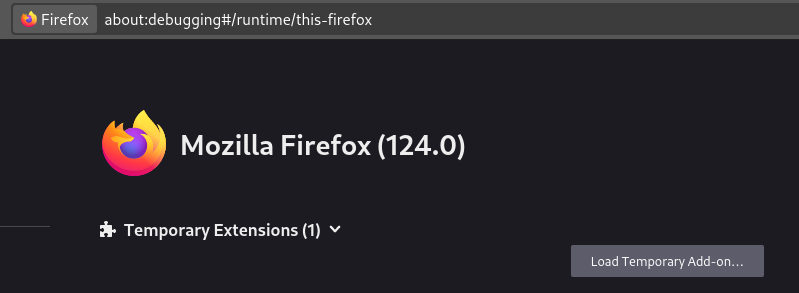
Click on “Load Temporary Add-on” and select the manifest.json file in the extracted zip folder. Then, go back to the map and click on the Extensions icon and select the extension to enable it.
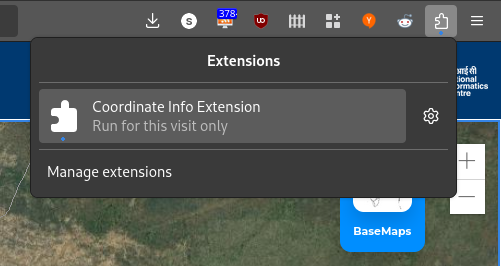
Now you can get the click to copy button!